In the standard site configuration (with ONLY the ‘Fieldworker’ add-on), the ‘New Activity’ screen will introduce a new “Site” field, enabling single site functionality. This workflow is designed for direct 'A-B-C' travel, focusing on a singular intermediate waypoint. If a Fieldworker needs to visit a subsequent site, a new activity must be created.
Users may choose to pre-plan their site visit during activity creation or add their site during tracking.
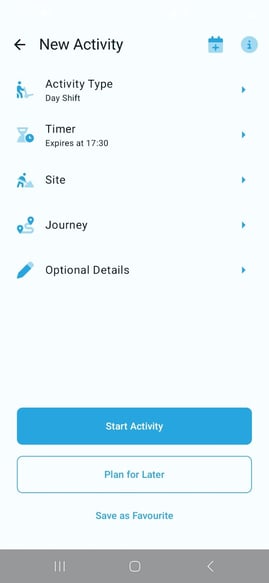
1. Adding a Site
When setting up a new Activity, access the Site field.
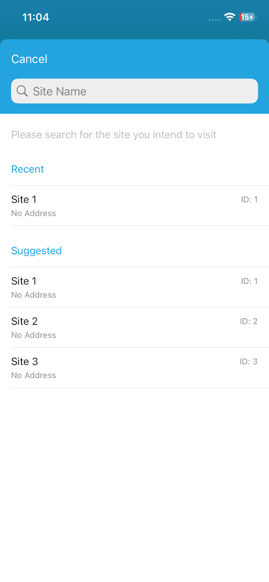
- Add Site: Search for and select the specific site you plan to visit
- Single Site: Activities with this configuration are limited to a single site.
2. Signing in & out of a Site
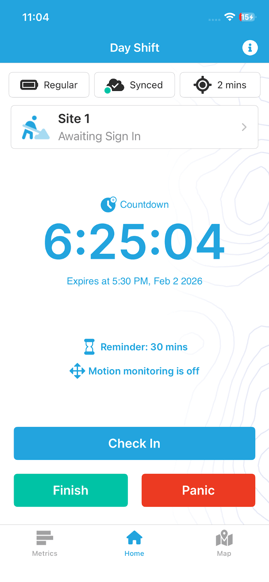
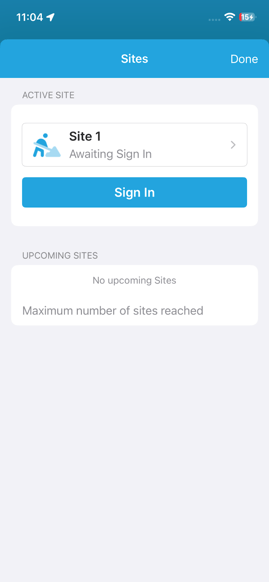
Once you start your activity, your Sites Banner on the home tracking screen becomes your control center for managing sites assigned to your activity.
Signing in:
- Intention: By default, your attached site is pre-selected as your "Intention."
- Arriving: When you physically reach the location, tap the banner and confirm your sign in.
- Status Change: The banner will update to show you are "Signed In".
Safety Note: When you Sign In to a site, the specific Site Contacts for that location become active Alert Receivers. If an emergency alert is triggered while you are signed in, these contacts will be notified along with your regular Team Leaders.
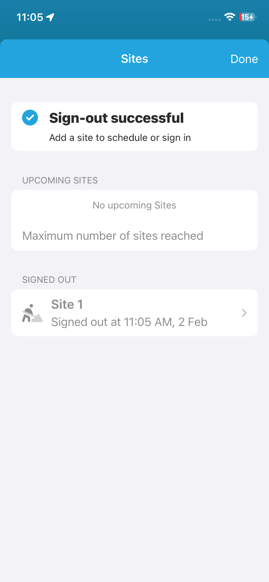
Signing out:
- Access the Sites banner and tap Sign Out.
- Alert Receivers Update: The Site Contacts for that location are immediately detached and will no longer receive alerts.
3. Managing Your Site
Understandably plans may change. You can change/edit your attached Site while an activity is running. We support the following actions:
- Add a Site: Open the Sites Menu to add a new location recognised by your organisation. (Note: If you already have a Site attached this action will be blocked.)
- Remove a Site: If you would like to change your attached site or are no longer visiting a site, you may remove it from your activity. (Note: This cannot be done if a Site has already been signed into.)
- Select a Site: You may update your journey intention by selecting and nominating your Site activity as an active site. (Note: Sites attached during planning will be pre-selected when starting tracking.)
- Past Sites: Locations you have already completed (signed in and out of) move to the bottom of the menu for your reference.
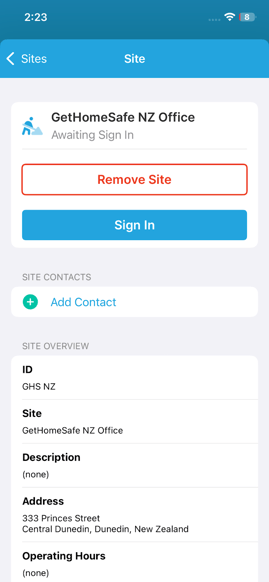
- View Site Profile: You may view a Site's profile by tapping it on the list, this will show a full list of details including its site contacts and a site overview.
- Managing Site Contacts: You have control over who is notified at each specific location.
You may Add or Remove site contacts manually for that specific site.