-1.jpg?width=400&height=46&name=GHS_Primary_Logo_Landscape_Full_Colour%20(1)-1.jpg)
Managing your account
1. Log in to your Account/Enterprise web portal
2. Select Configure in the left-hand menu, then select Account.
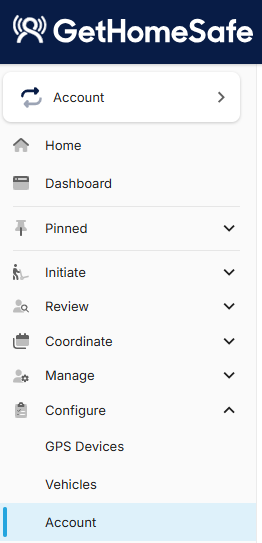
Account menu
The Account menu lets you configure and manage a wide range of settings for your GetHomeSafe account, including general features, security, administrators, integrations, and more. Note: Certain options may be unavailable based on your account settings.
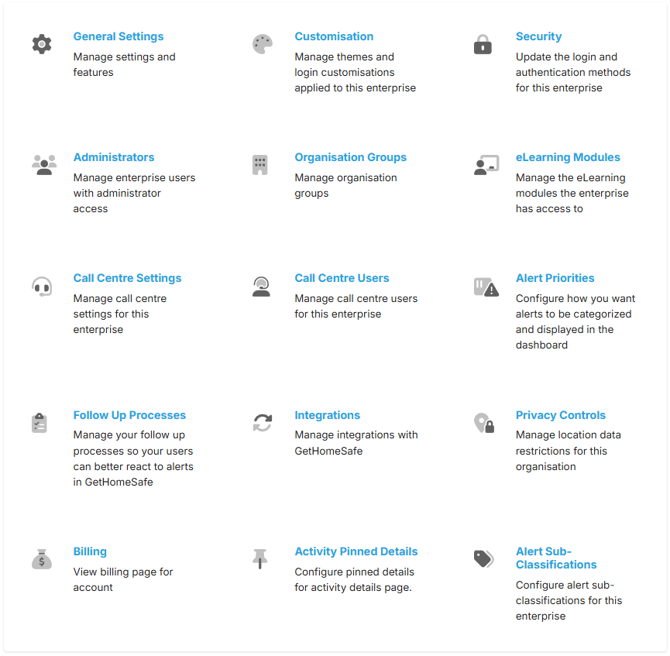
- General Settings
- Enable features such as alert priorities, follow up processes, shared mobile devices, and mass messaging.
- Enable privacy settings
- Enable mandatory mobile field during user registration
Note: To request account name changes or to enable call centre and GPS devices for your account, contact support@gethomesafe.com. Some features may be locked — if you need to upgrade your plan, this can be done via the Billing menu.
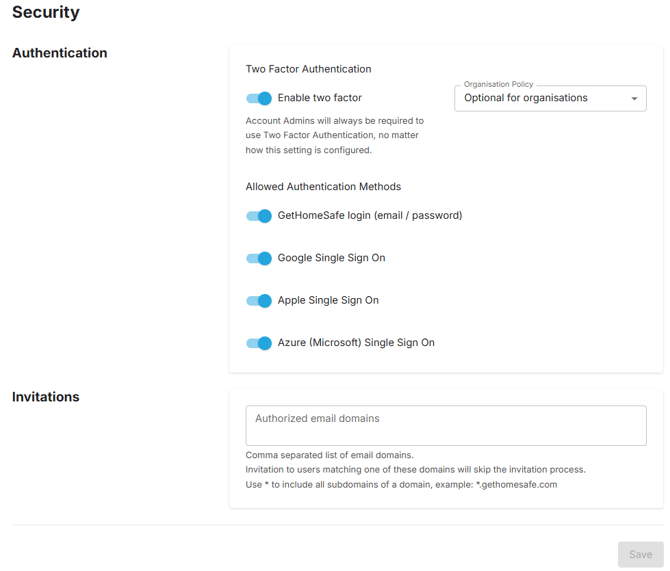
- Security
- Manage Authentication settings, allowed login methods and activity tracker pages for your account
- Administrators
You can invite other account administrators by selecting your account name in the top-right corner to open the user menu, then selecting Invite Administrators.
Assign admin permissions
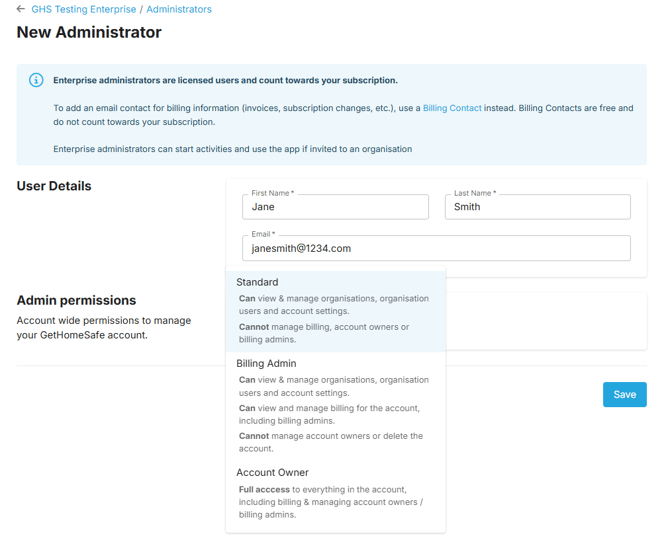
In GetHomeSafe there are three levels of account permissions:
1. Standard
Admins can view & manage organisations, organisation users and account settings
2. Billing admin
Admins can view & manage organisations, organisation users and account settings.
Admins can view & manage billing for the account including billing admins
3. Account Owner
Full access to everything in the account including billing and managing account owners/billing admin
Manage exisiting administrators
Select the three dots to the side to perform the following actions:
Reset an administrator's two-factor authentication
Deleting the administrator

- Organisation Groups
Organisation groups are a reporting feature that allow you to filter charts using predefined groups of organisations. In this section you can create and delete organisation groups.
- Call Centre Settings & Call Centre Users (visible if Call Centre is enabled for your account)
- General Settings (such as Name, contact information for alerts)
- Hours of Operations
- Alert Settings
- Optional Email Notifications
- Reporting Settings
- Follow-up Reminders
- Plain Text Alerts
- Call Centre Users
Note: If the Call Centre that monitors your organisation is independent (external), your organisation settings will be view-only. If your Call Centre is internal, administrators will be able to configure settings.
- Pinning Activity Details
Enterprise admins can pin specific activity details to the activity status card. This ensures the most important information for supervisors is visible at a glance when they first access an activity.
Simply select the fields you want to pin from the dropdown menu, and the relevant details will appear directly on a user's activity status card.

- Integrations
- Add and manage integrations for your account

-
Sub-classifications
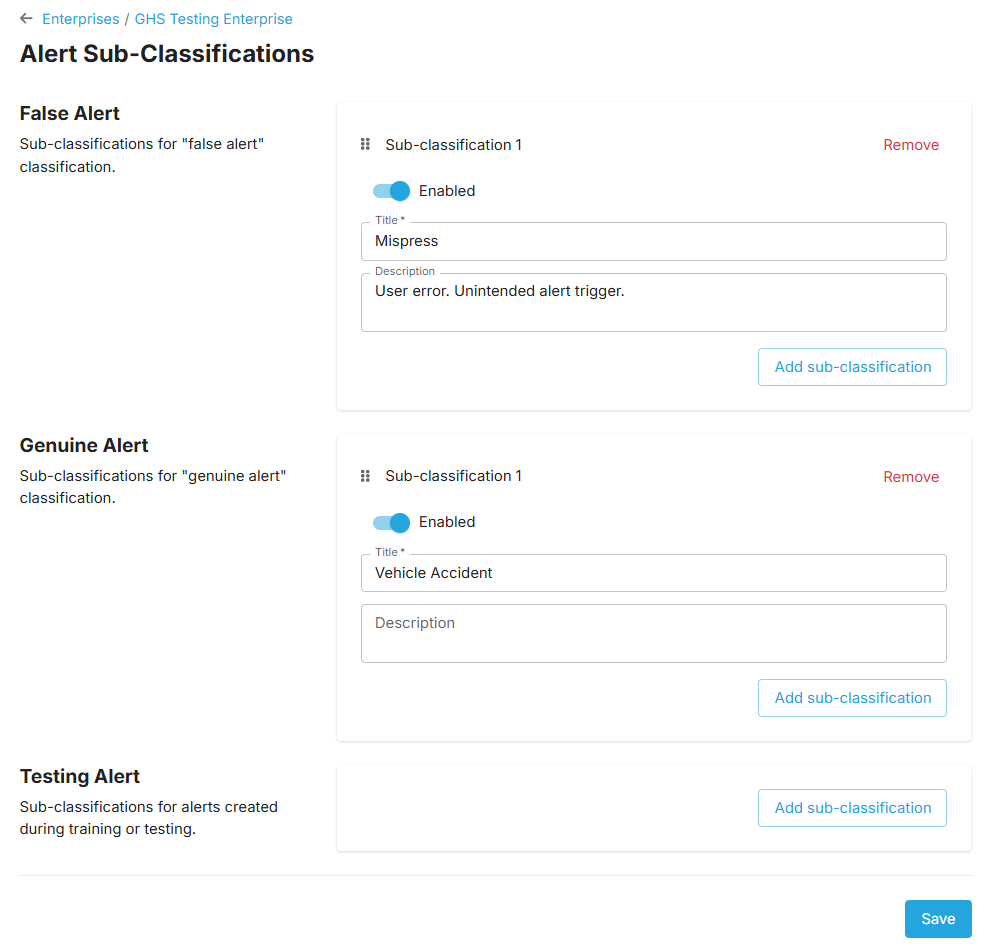
Enabling and configuring alert sub-classifications at the account level allows supervisors to add an additional layer of classification for alerts during the follow-up process.
Sub-classifications are optional labels attached to a primary alert classification to provide additional context for resolved alerts. Once configured, they become available for selection during the alert follow-up process when their primary classification — Genuine, False, or Testing — is chosen.