-1.jpg?width=400&height=46&name=GHS_Primary_Logo_Landscape_Full_Colour%20(1)-1.jpg)
Navigating the Dashboard
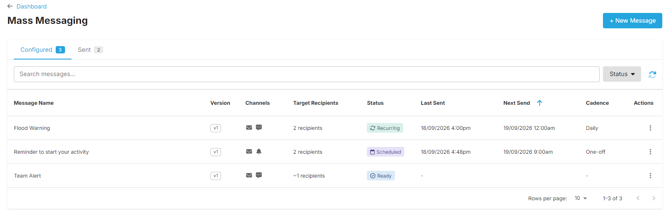
The Mass Messaging dashboard is split into two views:
- Configured: Your active workspace for drafting, editing, and managing recurring message templates.
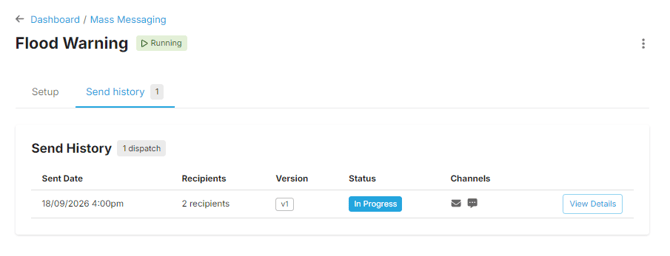
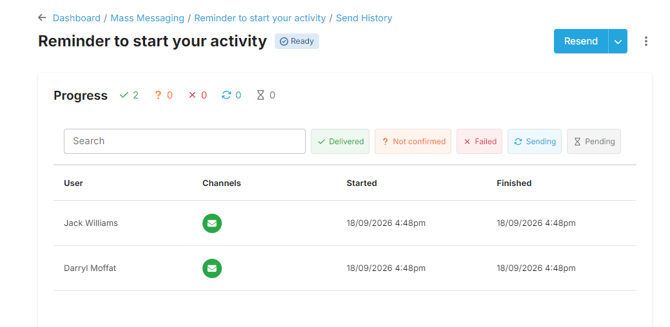
- Sent (Send History): A read-only, immutable audit trail of all messages that have been dispatched, providing a breakdown of delivery success and read receipts.
Creating and Configuring a Mass Message
Admins can draft messages ahead of time; they do not need to be sent immediately.
- Log into the web portal.
- Select Mass Messaging from the left-hand navigation.
- Select + New Message.
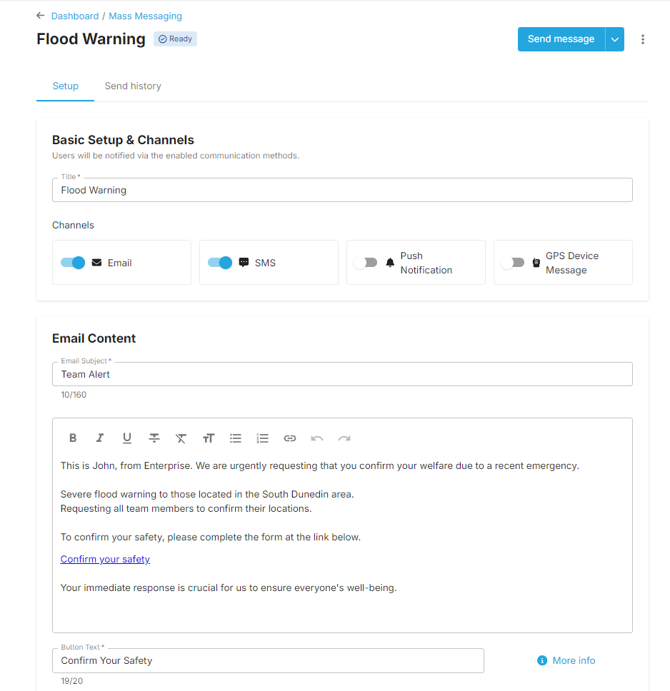
1. Settings & Channels
Specify the title of the mass message within GetHomeSafe and enable your desired communication methods. To guarantee reach, users will receive the alert via all enabled channels.
- Email: Sent to users' registered email addresses.
- SMS: Sent to users' mobile numbers.
- Push Notifications: Sent directly to the devices of users logged into the GetHomeSafe app.
- GPS Device Messages: Sent to connected GPS devices.
2. Message Content
- Email Content: Specify the subject line and body text. (The Email communication method must be enabled).
- SMS, Push Notification & GPS Device Content: Specify the brief text content used for these channels. (At least one of these three methods must be enabled).
3. Target Recipients
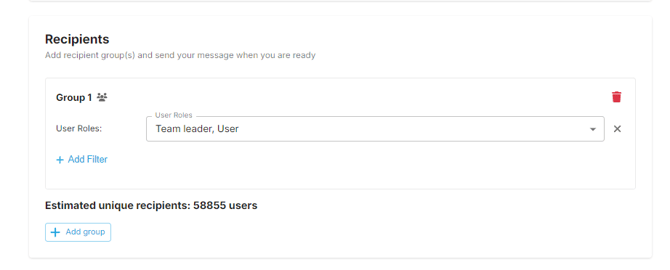
Before a message can be sent or scheduled, you must define who will receive it by adding Recipient Groups. Filters include:
- By organisation. (available at the Account Level)
- By team.
- By user role.
- By activity status.
4. Scheduling & Sending
Once your content and recipients are set, you can determine when the message dispatches:
- Send Now: Dispatches the message immediately.
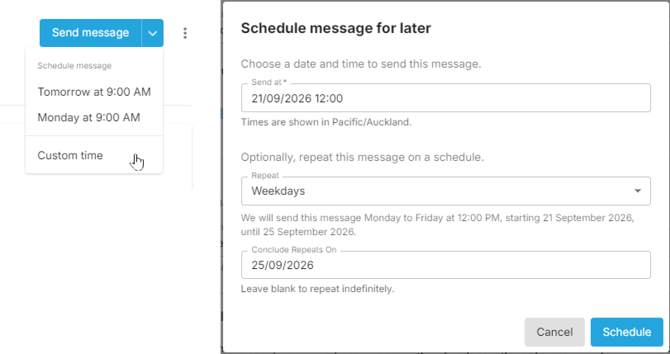
- Schedule: Set a specific date and time for a one-off future send.
- Recurring: Automate routine communications by setting the message to send daily, weekly, or monthly.
Managing Messages
Selecting the three dots (More Actions) next to any message on the Configured tab provides the following options:
- Edit: Update the content, channels, or schedule of an upcoming or recurring message.
- Pause: Recurring messages can be Paused/Resumed as needed, to temporarily or indefinitely prevent scheduled sends.
- Duplicate: Copies the message settings into a new draft. Tip: Because historical sends are read-only for compliance purposes, use the Duplicate function to easily reuse a message you sent in the past.
- Delete/Archive: Removes the configuration and cancels any future scheduled sends. (Note: Historical sends of this message will remain securely logged in the Sent tab)
Welfare Checks
Sending a Welfare Check ensures all users in the organisation (or a targeted group) are safe.
If a Welfare Check is enabled and attached to a Mass Message, activities are automatically started for all targeted users when the message is sent.
- If users already have ongoing activities, their timers will temporarily change to the length of the Welfare Check. The activity will revert to its original timer after the Welfare Check is actioned.
- If the Welfare Check is not actioned in time, a standard Overdue alert is activated.
Users can confirm they are OK by checking in, extending their timer, finishing the activity, or actioning the link within the email or SMS messages (if enabled).
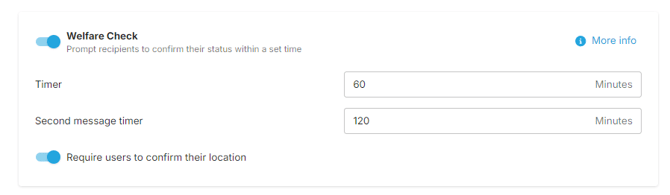
Enabling a Welfare Check When configuring your message settings, you can define:
- Timer: The Welfare Check timer sets the required response window (activity length).
- Second Message Timer: Sets how long after the initial Welfare Check is initiated before a follow-up reminder message is sent (this only triggers if the user has not yet confirmed they are OK).