-1.jpg?width=400&height=46&name=GHS_Primary_Logo_Landscape_Full_Colour%20(1)-1.jpg)
Requested activities are activity plans submitted by users that must be approved or declined by an admin or team leader before they can be started. They are tracked in the 'Activities' screen in the app and the 'Plans & Requests' page in the web portal, where each activity displays a status icon and color.
What are requested activities?
Requested activities are stored in the ‘Activities’ screen in the app and the ‘Plans & Requests’ page in the web portal. Each activity includes a summary screen, and its status is identified by the associated icon and color. If Scheduling is enabled, scheduled start and finish times can be added to a requested activity, making it a scheduled activity.
- Awaiting Approval: The activity has been requested and is awaiting approval. It can be viewed.
- Approved: The activity has been approved and can be started at any time (from the app or web portal).
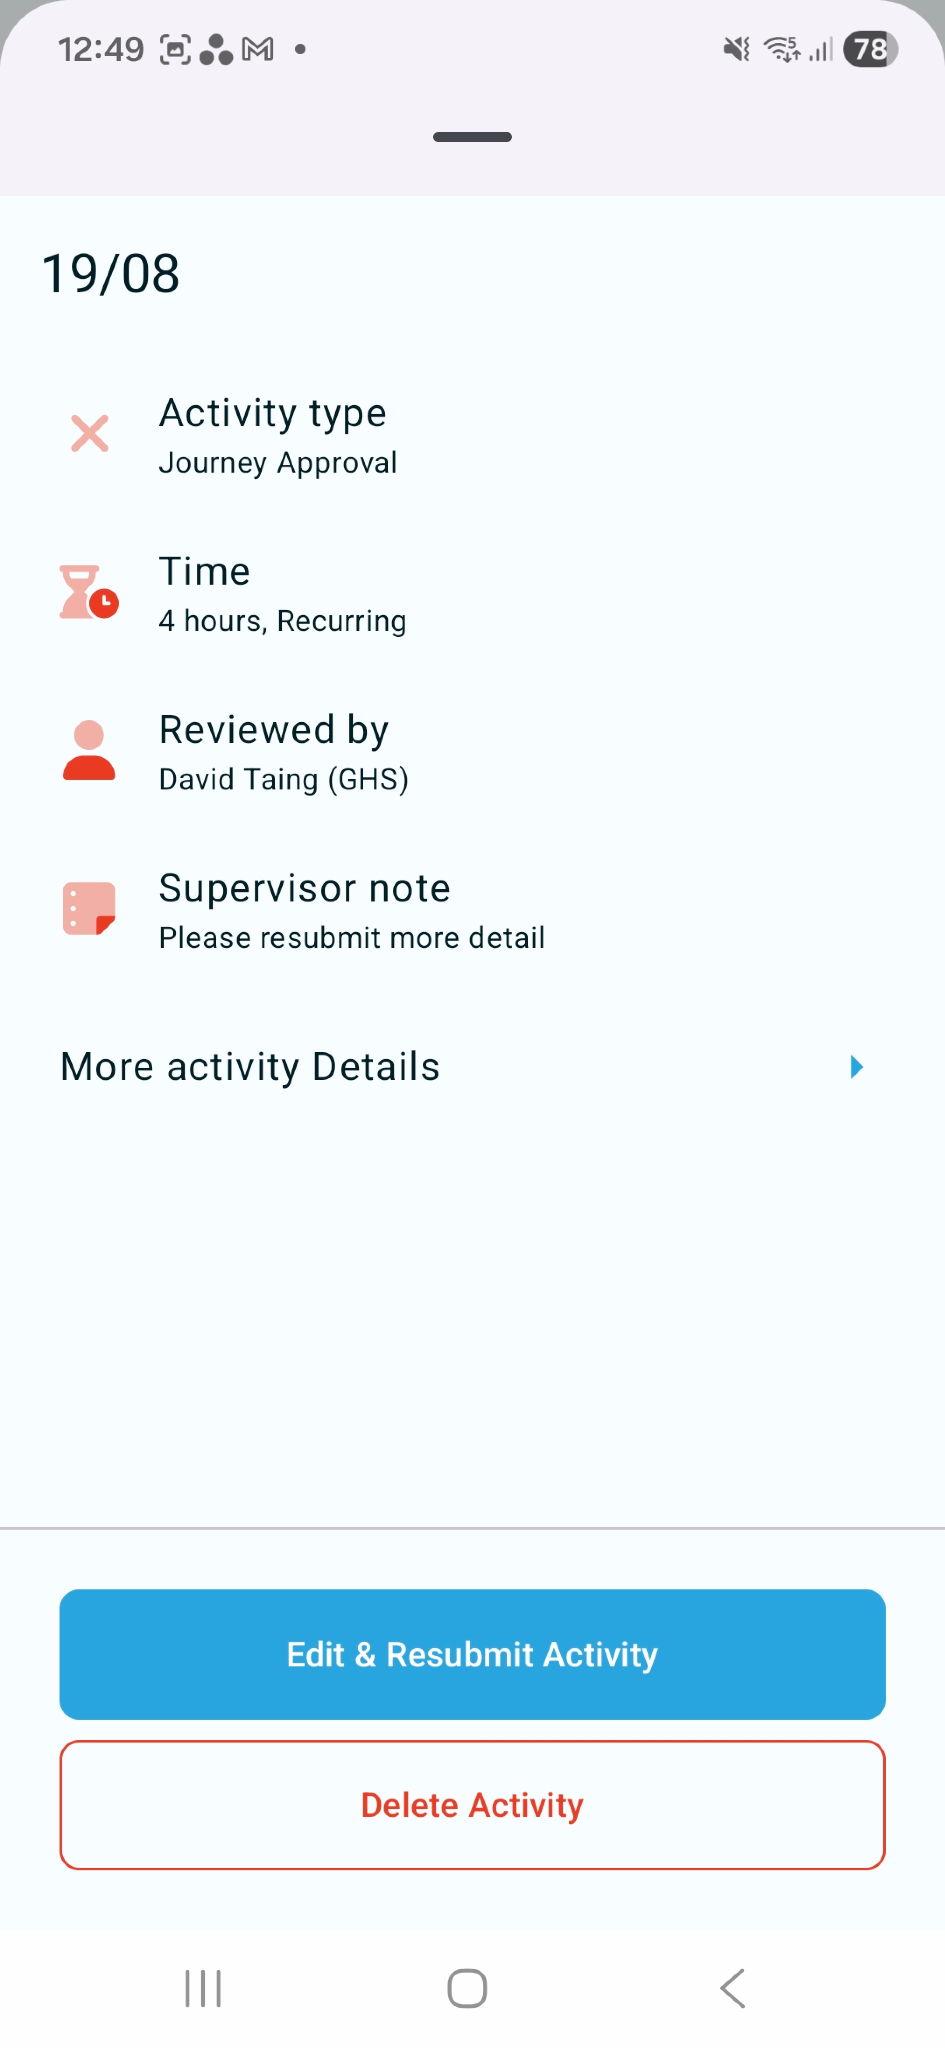
- Declined: The activity has been declined. Users have the option to 'Edit & resubmit' to update the details and send a new request, or the activity can be deleted.
How does the review process work?
When an approval request is sent by a user, only the user's admins or team leaders can approve or decline the request. They will all receive an email. Within this is a link that allows them to approve or decline the request. The request includes all activity details.
- Approving activities: The activity can be started at any time.
- Declining activities: The activity cannot be started in its current form. The user can either delete the request or use the 'Edit & resubmit' option to adjust their plan and try again.
Alternatively, the activity can be reviewed directly from the web portal:
- Log into the web portal.
- Select ‘User Activities’.
- Open ‘Plans & Requests‘.
- Select the requested activity.
- Underneath the activity status card, select ‘Complete Approval’.
- Approve or decline the request.