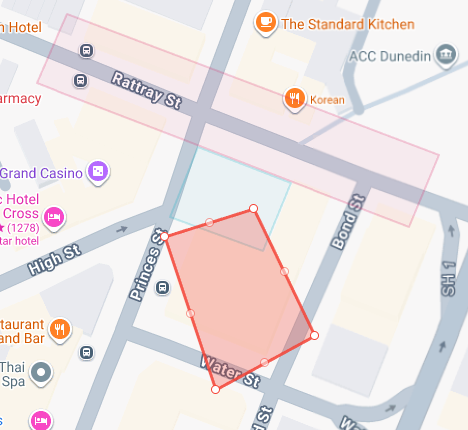
-1.jpg?width=400&height=46&name=GHS_Primary_Logo_Landscape_Full_Colour%20(1)-1.jpg)
Accessing Safe Zones
Safe Zones are intended to be self-managed by the user but may also be configured by an Admin.
To access the Safe Zones menu, navigate to Manage > Users > Safe zones.
Managing Zones
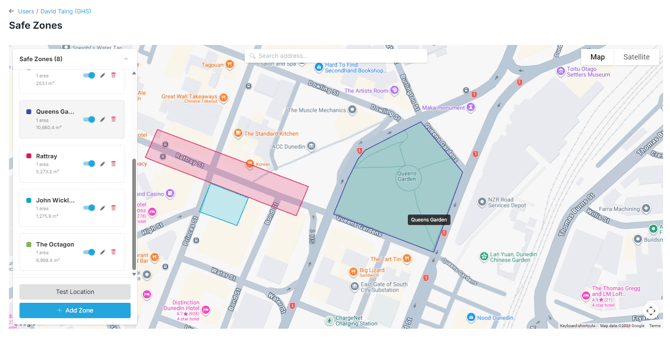
From the main Safe Zones dashboard, you can view all currently configured zones.
Available actions from the main menu include:
- Test Location: Simulate zone detection accuracy (requires configured zones).
- Enable/Disable: Toggle zones on or off without needing to permanently delete them.
- Edit: Modify the boundaries, names, or descriptions of existing zones.
- Delete: Permanently remove a zone from your user account.
Adding and Configuring Zones
Zones consist of the following elements:
- Name (optional)
- Description (optional)
- Areas: The geographic boundaries of your zone. A single zone can contain multiple disjointed (separated) areas.
Defining and Drawing Areas
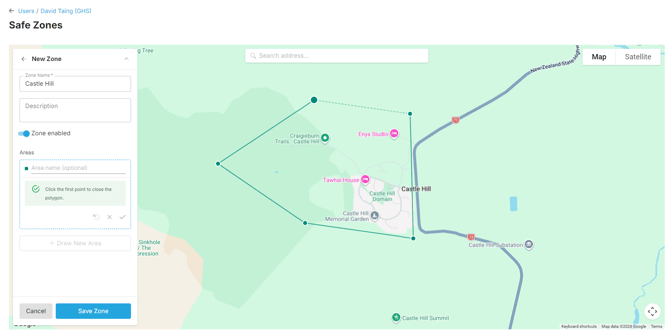
Click + Add an area to begin mapping your zone. You may optionally assign a name to each individual area.
- Placing Vertices: Click on the map to place a vertex, which acts as a corner for your area.
- Minimum Requirements: An area must consist of at least 3 vertices (forming a triangle or larger polygon).
- Closing the Area: To close the boundary, tap on your starting vertex or the most recently placed vertex.
Boundary Rules
- No Overlapping: Areas cannot overlap with other areas, regardless of whether they belong to the same zone or different ones.
- Edge Snapping: To help you create precise boundaries, area edges will automatically snap to the edges of neighboring areas.